
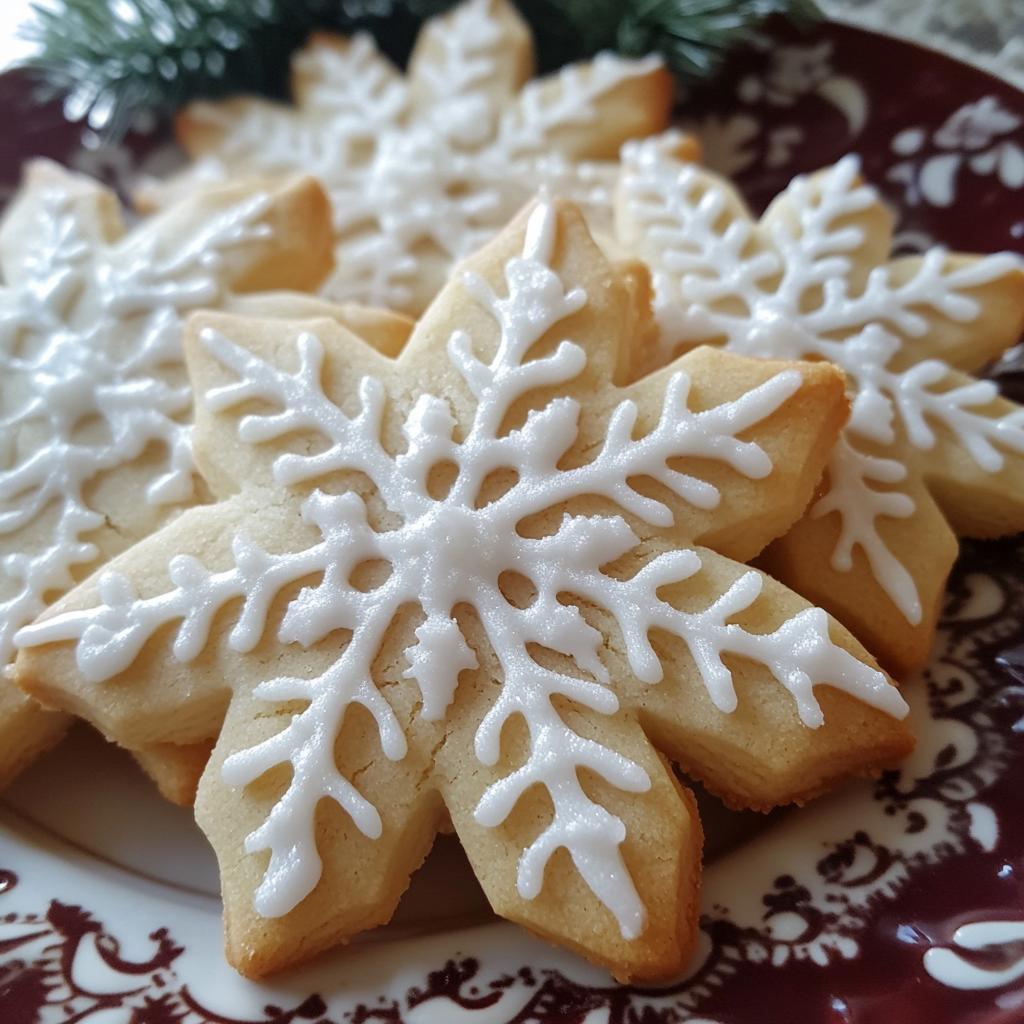
## Snowflake-Shaped Sugar Cookies – A Perfect Winter Treat ❄️🍪
## Introduction
Welcome to our guide on how to prepare the most delightful winter treat, Snowflake-Shaped Sugar Cookies. These cookies are not just tasty, but also bring the magic of winter right into your kitchen! With their delicate design and delicious taste, these sugar cookies are perfect for holiday gatherings, gift-giving, or simply a cozy day by the fire.
## Why Make This Recipe
There’s something magical about baking during the holiday season, and these Snowflake-Shaped Sugar Cookies encapsulate that wonder perfectly. They’re a fantastic way to get the family together; you can even turn cookie-decoration into a fun family activity! They’re also straightforward to make, and the ingredients required are common pantry items. But the best part? Heading to the table with a tray full of these beautiful cookies and watching everyone’s eyes light up!
## How to Make Snowflake-Shaped Sugar Cookies
Making these cookies is a simple, enjoyable process that will fill your kitchen with holiday cheer. Here is what you’ll need:
## Ingredients:
– 2 3/4 cups all-purpose flour
– 1 tsp baking powder
– 1/4 tsp salt
– 1 cup unsalted butter, softened
– 1 1/2 cups granulated sugar
– 1 large egg
– 1 tsp vanilla extract
– 1/2 tsp almond extract (optional)
– Royal icing & food coloring for decoration
## Directions:
Follow these step-by-step instructions to create your snowflake-shaped treats:
1. In a medium bowl, whisk together flour, baking powder, and salt.
2. In a large bowl, beat the softened butter and sugar together until fluffy.
3. Mix in the egg, vanilla, and almond extract (if using).
4. Gradually add dry ingredients to the wet ingredients, mixing until a dough forms.
5. Divide the dough in half, flatten into disks, wrap in plastic wrap, and chill for at least 1 hour.
6. Preheat oven to 350°F (175°C). Roll out dough to about 1/4 inch thickness and cut into snowflake shapes using cookie cutters.
7. Place cookies on a parchment-lined baking sheet and bake for 10-12 minutes, until edges are lightly golden. Cool completely.
8. Decorate with royal icing as desired. Let the icing set before serving.
## How to Serve Snowflake-Shaped Sugar Cookies
These delightful snowflake cookies are perfect served alongside a hot cup of cocoa or a vibrant cup of coffee.
## How to Store Snowflake-Shaped Sugar Cookies
Store these cookies in an airtight container at room temperature. They will stay fresh and delicious for up to a week.
## Tips to Make Snowflake-Shaped Sugar Cookies
1. Use the bottom of a glass to flatten the dough disks for the refrigerator. This will make rolling them out more manageable later.
2. Use a thin spatula to lift the cut cookies onto the baking sheet to prevent them from losing shape.
3. You can use cookie icing pens or food coloring pens to add intricate details to your snowflakes after the icing has set.
## FAQs
**Q1: Can I use self-rising flour instead of all-purpose flour?**
A: Yes, but make sure to leave out the baking powder and salt as self-rising flour already contains these ingredients.
**Q2: Can I freeze the dough for later?**
A: Yes, the dough can be frozen for up to 3 months. To use, thaw completely in the refrigerator before rolling out.
**Q3: How can I prevent the cookies from spreading while baking?**
A: Chilling the dough is a crucial step to prevent the cookies from spreading. Make sure your dough is cold before it hits the oven.
Enjoy the process of making these Snowflake-Shaped Sugar Cookies and the joy they bring in every bite!